MyNetgear account is essential to oversee the Netgear Nighthawk app; creating MyNetgear account will help you to login to your device to amend the customised setting. You can also keep a check on the important information regarding firmware updates, security measures and you can access your network from anywhere.
Now, let’s initiate the process and learn about how to create MyNetgear Account
How to create MyNetgear Account?
Follow the below described steps to create MyNetgear account easily:
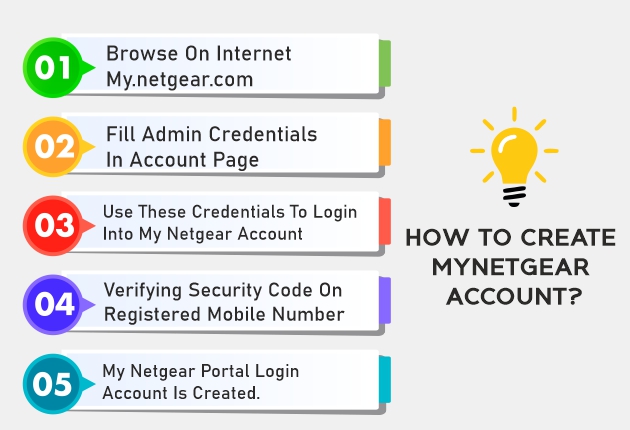
- Make sure the internet browser you are using is updated, visit my.netgear.com.
- Create an account page and fill in the particulars like name, email id and password on the page.
- Once you enter the credentials, a message will pop up to confirm the email id and password.
- These credentials can be used as your MyNetgear login credentials.
- As you are done with login, select your country and continue.
- You can also enable higher level of security by levelling up verification; you may receive security code on the registered mobile number and confirm the verification.
- Process comes to completion when you click on Finish.
- You are done with MyNetgear portal login account creation process.

How to Reset MyNetgear Portal Forgot Password?

If at any time in future, you want to make any amendments in the admin credentials or if you do not remember the password, you have to process the reset. Following steps will help you to understand it better:
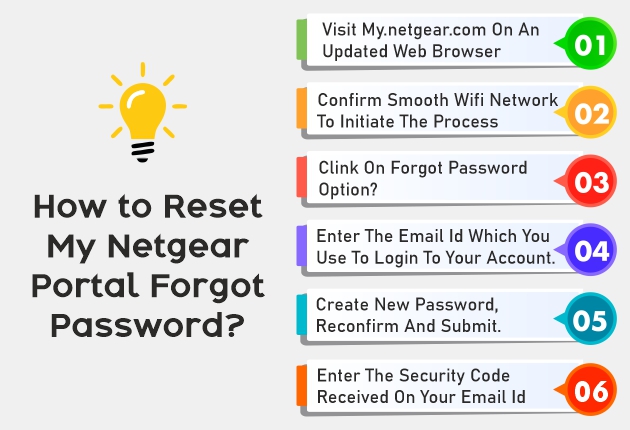
- In your device (computer or laptop), visit my.netgear.com on an updated web browser.
- Make sure that your home WiFi network is smooth enough to support the process.
- Clink on option given in the tab Forgot Password?
- Enter the email id which you use to login to your account.
- You may receive a security code on your email id, which you need to feed in.
- You may ask to fill in the new password which you want to create, reconfirm it and then Submit.
How to Create MyNetgear DDNS Account?
When IP address of the host gets modified,the (Dynamic Domain Name System) updates the DNS server simultaneously. Then you need to create a Netgear No-IP account to set up MyNetgear.com host name.The steps mentioned below will guide you to process it:
- Open your device which is already connected with the router’s network.
- Now visit routerlogin.net on an updated web browser.
- Feed in the admin credentials and log in to the router.
- Go to home page and click on Advanced> select Advanced setup> go to Dynamic DNS
- Choose Use a Dynamic DNS Service.
- Select the tab Netgear from the menu dropdown.
- You will find an option Do you have a NETGEAR DDNS account, then select no.
- Select Register, you will be navigated towards account activation link and you will eventually land on to Login page.
Now the question arises that how I can access my Netgear Extender Login page, to get the answer read the steps below:
How to access Netgear Extender Login Page?
- Plug in your Netgear extender into an electrical socket.
- When you notice green colour LED light, it means extender is all powered up.
- Open a web browser on your computer and enter mywifiextor the IP Address 192.168.1.250 in the address bar.
- Press the Enter key, it will navigate to Netgear extender login page.
- After entering admin credentials you are all done with login process.
Alternative to Access Netgear Extender Login Page
If you are unable to access Netgear extender login page via IP address, then you can try it by using mywifiext.net.
- Plug your extender into the power socket.
- Open an updated web browser and enter mywifiext.net in the address bar.
- Click on Enter and you will be directed to the extender Login page.
How to Login to Nighthawk Mesh Extender?
- Launch a web browser from your device (computer or laptop), make sure that your device is already connected with your extender’s network.
- Type the web link mywifiext.com in the address bar of your updated web browser.
- Click on Enter tab, a login page pops up.
- Enter the admin credentials.
- Click on Login button.
- In your browser display, go to Menu> Select settings, you can alter the settings as required and save it.
- You are all done with the Netgear Nighthawk Mesh Login process.
The above illustration is all about MyNetgear, hope the information shared would suffice the purpose. In case of any difficulty, feel free to reach out the support team.