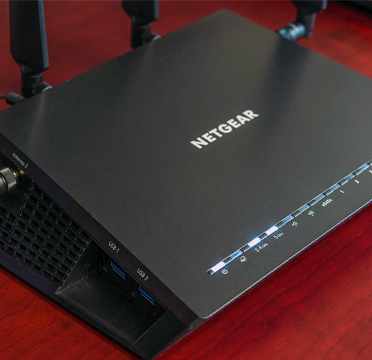
Nighthawk AC2600 Smart WiFi Router accelerates the network to blazing fast speed and ultimate range that you can get the coverage in the entire premises. Its high powered amplifiers, external antennas give the best connectivity.
You can complete the Netgear Nighthawk AC2600 setup through a wired or WiFi connection in easy steps, described as below:

Wired Connection
This is the easiest and authentic method; you just need to connect your computer with the WiFi router through an Ethernet cable and join router’s local area network.
- Be sure that the router is receiving power through a smoothly working electrical outlet (its Power LED is lit).
- Connect one end of the cable to the Ethernet port on your PC and the other with an Ethernet port on the router.
- Your computer connects to the local area network (LAN).
WiFi Connection
- Make sure that the router is receiving power from the power socket.
- On your PC or WiFi device, look for the network you can find the network name is on the router label.
- Join the network and enter the WiFi password.
- Password can be seen on the router label.
- Once you feed in the password, your device will automatically connect to the network.
Connection Using WPS
Connecting your WPS enabled device to the router’s WiFi network through WPS is quiet simple, you can do so in following manner:
- You have to check that router is receiving power; lit up power LED confirms the same.
- Check the WPS instructions for your WPS-enabled device.
- Press the WPS button on the router first and after a pause of approx. 2-3 minutes press the WPS on your device.
- Hence, your WPS-enabled device connects to the WiFi network.
Installing Router via Nighthawk App
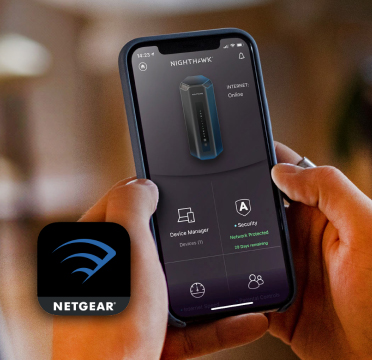
The app automatically updates the router to the latest firmware, allows you to personalize your WiFi network, and even helps register your router with NETGEAR.
- First of all download Nighthawk app in your device.

- Go to Settings > Select WiFi, you can get the SSID & password from router label.
- Enter the admin credentials once you launch the app on your mobile.
- You will be prompted to install the router and set up the WiFi connection.
LogIn to the Router
After the Nighthawk AC2600 setup, if you want to view or change the settings for the router later, you need to execute Nighthawk Router login interface process. For more clarity watch the steps below:
- On your WiFi enabled device, launch a web browser; enter routerlogin.net or IP address 192.168.1.1, a login window pops up.
- Enter router’s admin credentials to Login.
Router Firmware Update
To keep the performance of your device intact, it’s vital to update the router firmware to latest version. It’s recommended to use the Ethernet cable while processing the firmware update. Find the steps below for more clarity:
- Initiate the process with a web browser launch, enter routerlogin.net or 192.168.1.1.
- Enter the admin credentials in the opened window.
- Select Advanced > Administration > Firmware Update
- Click on Check button, router will search for attest firmware information and prompt you to follow the instructions accordingly.
- If the latest version is available, you can click on Yes and download the upgraded firmware.
Reset
Whenever you feel trapped under some sort of technical issue, or lost track record of the changes you have made to the router settings, then resetting will is the solution. This will help you to erase the customised setting and provides you provision to reset all over again.
To reset the router to factory default settings:
- You can check for the Reset button on the back side of the router.
- With the help of a paper clip, press and hold the Reset button for at least ten seconds.
- Release the Reset button when the Power LED starts blinking. When the reset is complete, the router restarts. This whole process takes about 2 minutes.
So, this is all about Nighthawk AC2600 setup, its Login Process, Default Factory Reset method and Router firmware update. Hope the information provided will be helpful!